
I am trying to learn how to take nice sky pictures at night, to capture the stars and the Milky Way. One of the things that makes this challenging is that the stars are quite dim for the camera sensor and competing with this is all of the light pollution from cities and towns lighting up the atmosphere and overwhelming most of the star light. Another problem is the Earth turning which gives the stars apparent motion, meaning they don’t stay still long enough to get a good picture.
To deal with the light pollution issue, your only real option is to get away from it, which means going far from the cities and towns where most of us live. This involves finding a remote, accessible place with low humidity on a cloudless, moonless night. The humidity in the air tends to scatter light and will glow with light pollution at a great distance. The moon is far brighter than the stars and the star light just cannot compete. So, finding a dark place, checking the weather, and the phase of the moon is part of the battle. I live in Central Texas, and the further West you go in Texas, the darker and drier it gets, so I generally just head West. Colorado Bend State Park is within an hour or so drive of my house and it is quite dark on a moonless night.
The camera issue is exposure. Capturing enough light from the stars requires a long exposure, but the longer the exposure the more the stars run in your photo. You can use a motorized tripod to track the stars, but I don’t have such gear. A wider lens will capture more of the sky and the motion of the stars will be less apparent. Even with my 16mm lens, I can really only expose for about 20 seconds before the stars get noticeably skewed. So, at such a short exposure, you have to increase the ISO quite a bit to get many stars. The problem with increasing the ISO, is that it increases the sensitivity of the sensor to the light as well as to noise. At low ISO, where you usually shoot, the noise floor is so far below the data that it is only really apparent in the darkest parts of the image, but at high ISO the subject is no longer bright enough to overwhelm the noise.
Sensor Noise
The sensor is an electronic device and has a noise floor like any other instrument and at higher sensitivities, this noise floor starts to show up in the photo. There is random noise from picture to picture and there is also deterministic noise from the sensor that will show up in each image. My camera has a feature called long exposure noise reduction (LENR). With noise reduction enabled, when the camera takes a long exposure, it then takes another long exposure with the shutter closed to capture the deterministic noise. It then subtracts that noise from the image to reduce noise. This does make it take twice as long to take a picture, though. You can also do this in software by just taking pictures of your lens cap and processing out the noise. I use LENR as it captures the noise at almost the same time as the image was taken.
Below are pictures of the lens cap without LENR (left) and with LENR (right). Both are 30 second exposures, f/2.8, and ISO6400. I have increased the exposure quite a bit in Lightroom to reveal the noise. Both images have the same exposure settings applied to them in Lightroom. As you can see, a lot of noise is removed by the LENR function.


Random noise is not predictable so LENR will not do anything about this. One way to deal with random noise is with averaging, which is taking many pictures and using software to average them to see what is actual subject and what is just noise. Any non-repeating data will be averaged away and real data will remain. But, as mentioned before, the stars appear to move from the camera’s perspective so each image has the stars in a different place. To deal with this, the images have to be first aligned by software.
Stacking
There is a free tool that I downloaded called Deep Sky Stacker. It will automatically align and average your night sky photos and produce an image you can then edit. It seems to do a pretty good job. You can add dark frames of your lens cap to remove deterministic sensor noise if you don’t want to rely on LENR. You can also add white frames of some uniform bright subject to remove vignette if you like.
I went to place nearby to the West of town on a moonless night where the light pollution was as minimal as possible, but still very present. As a side-benefit, there were lots of meteors for me to see. I used my 16mm lens and pointed the camera to the darkest part of the sky. I enabled LENR and set the camera to wide open aperture (f/2.8), 3200ISO, and 20s shutter. I then programmed it to take 20 exposures using interval timed shooting. Below is the resulting image from Deep Sky Stacker:
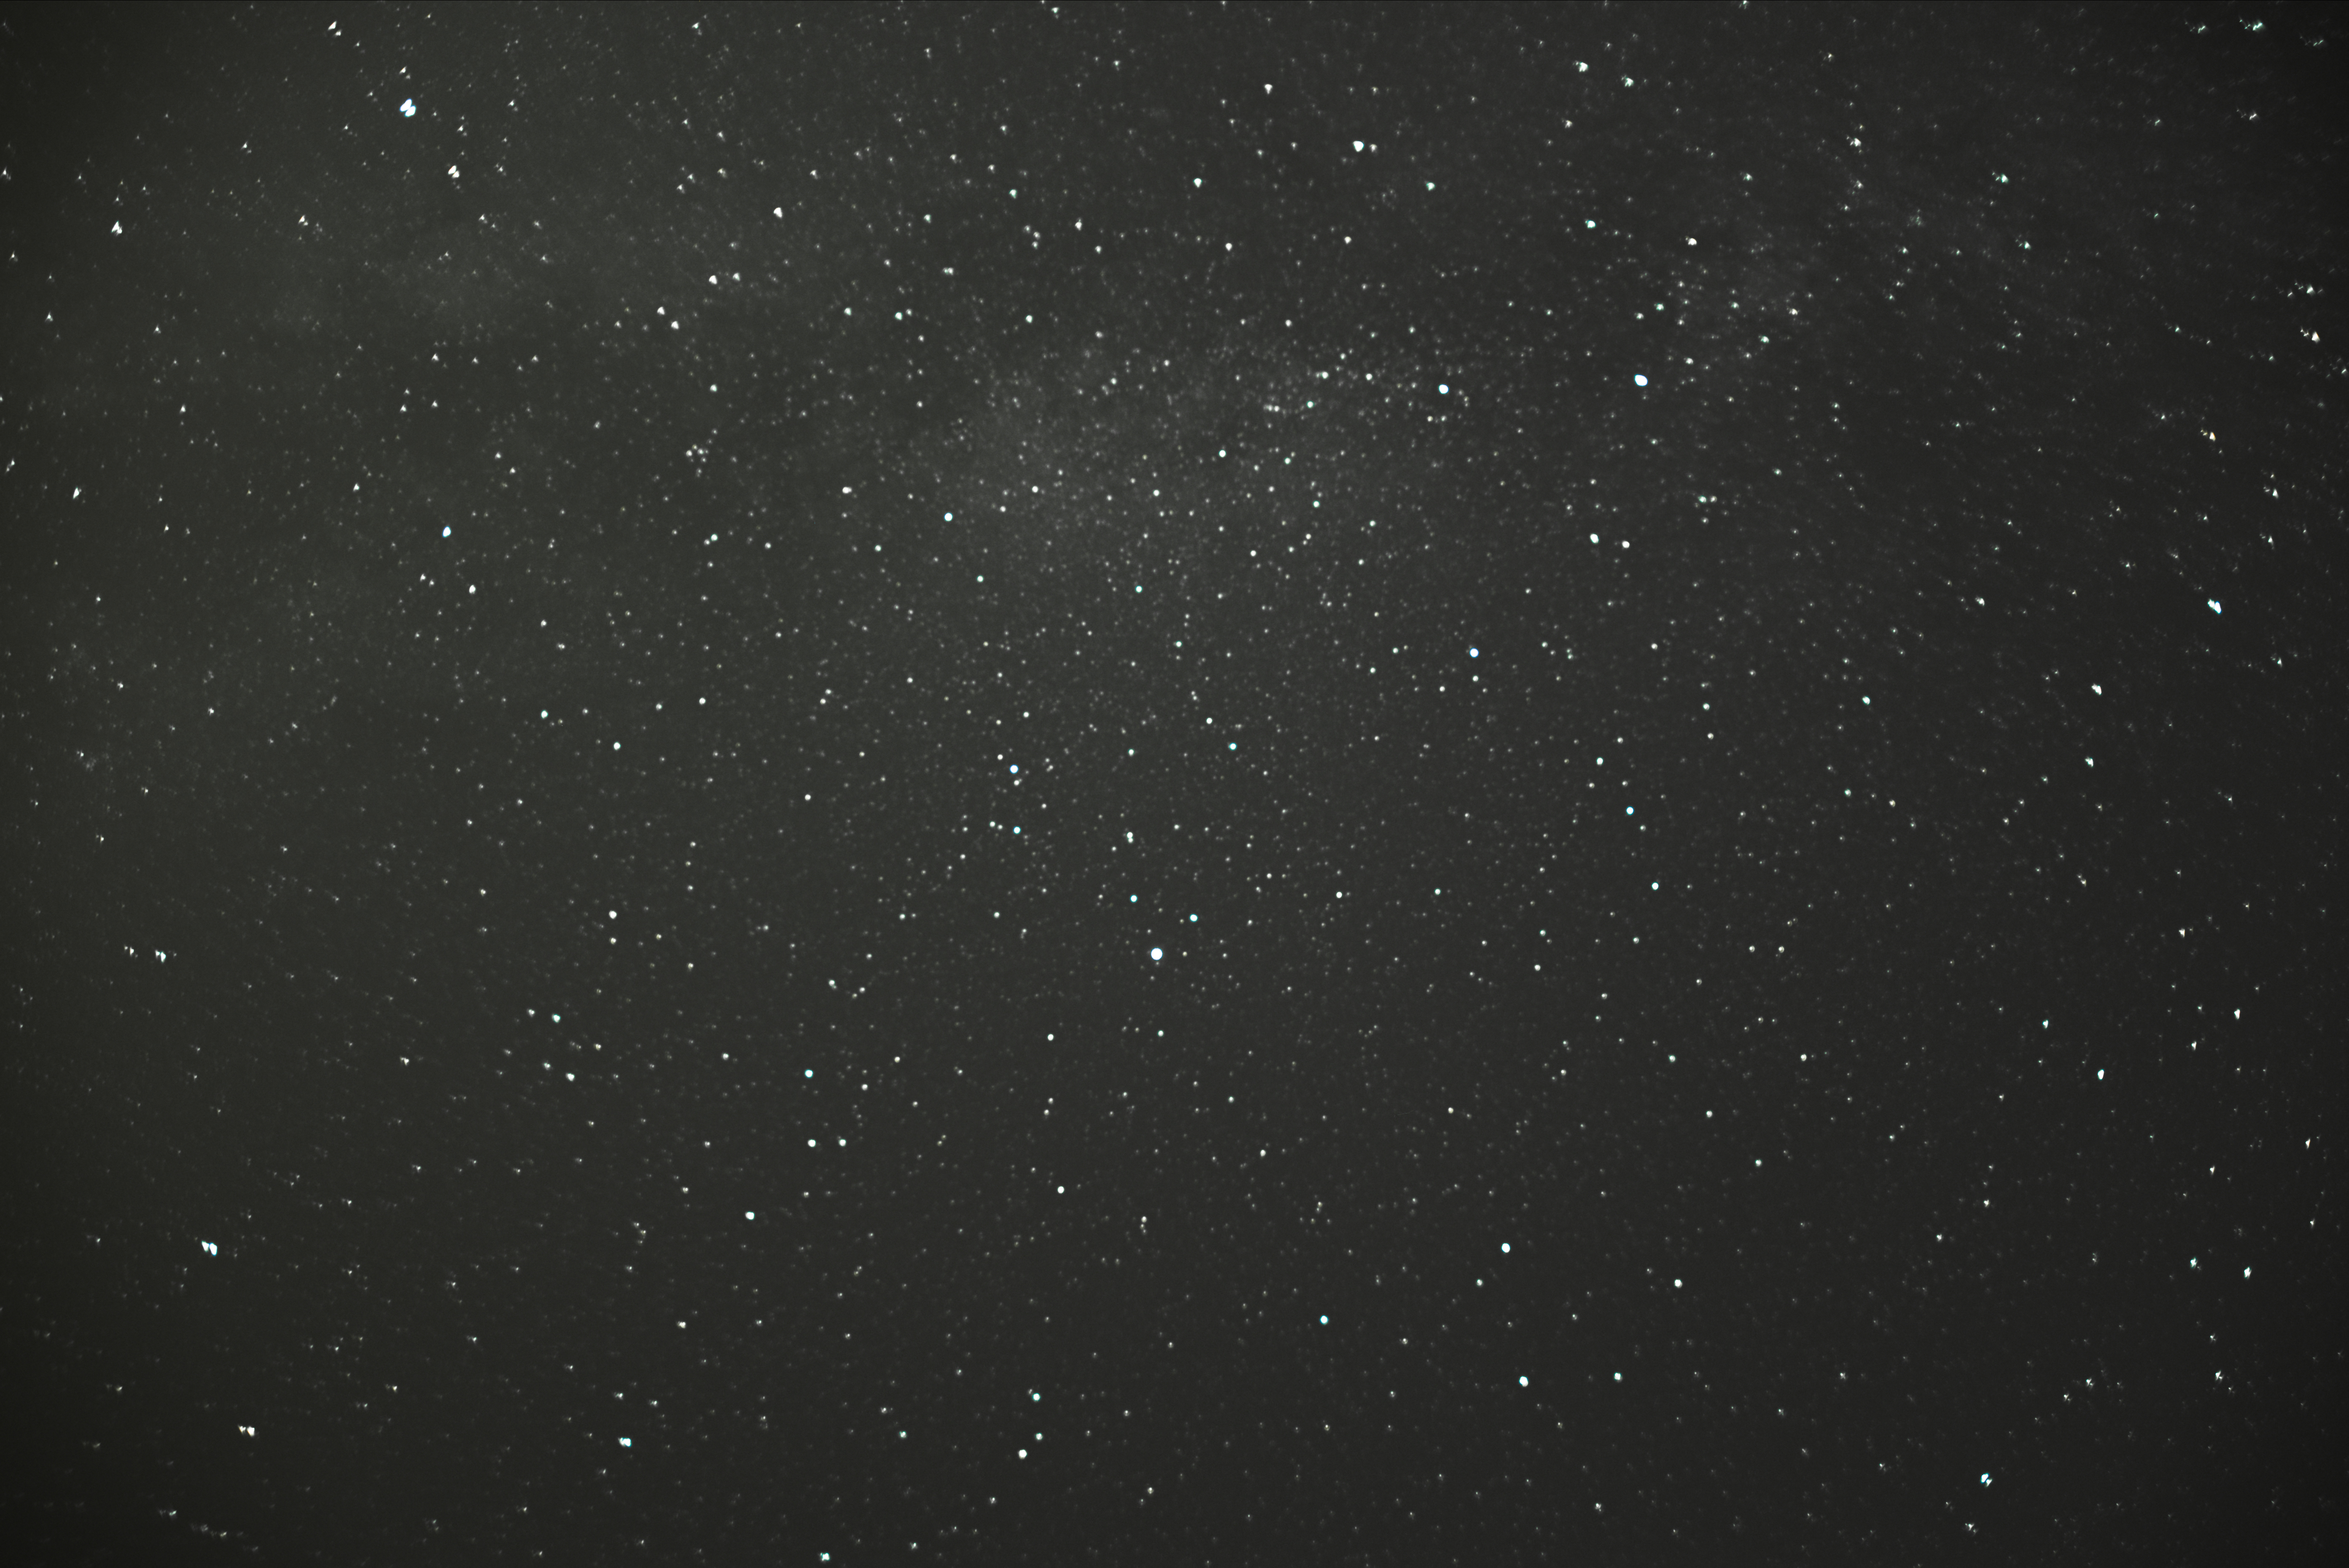
Not the most impressive sky picture that you have ever seen, but this was an experiment to see about using Deep Sky Stacker. This place was about 10 minutes drive from my house; in the future I will head out to a dark area and try to get better results. You can just see the cloud of the Milky Way in the picture. There was so much light from the Austin area in the image that I had to bring the exposure slider way down and only got the brightest stars.
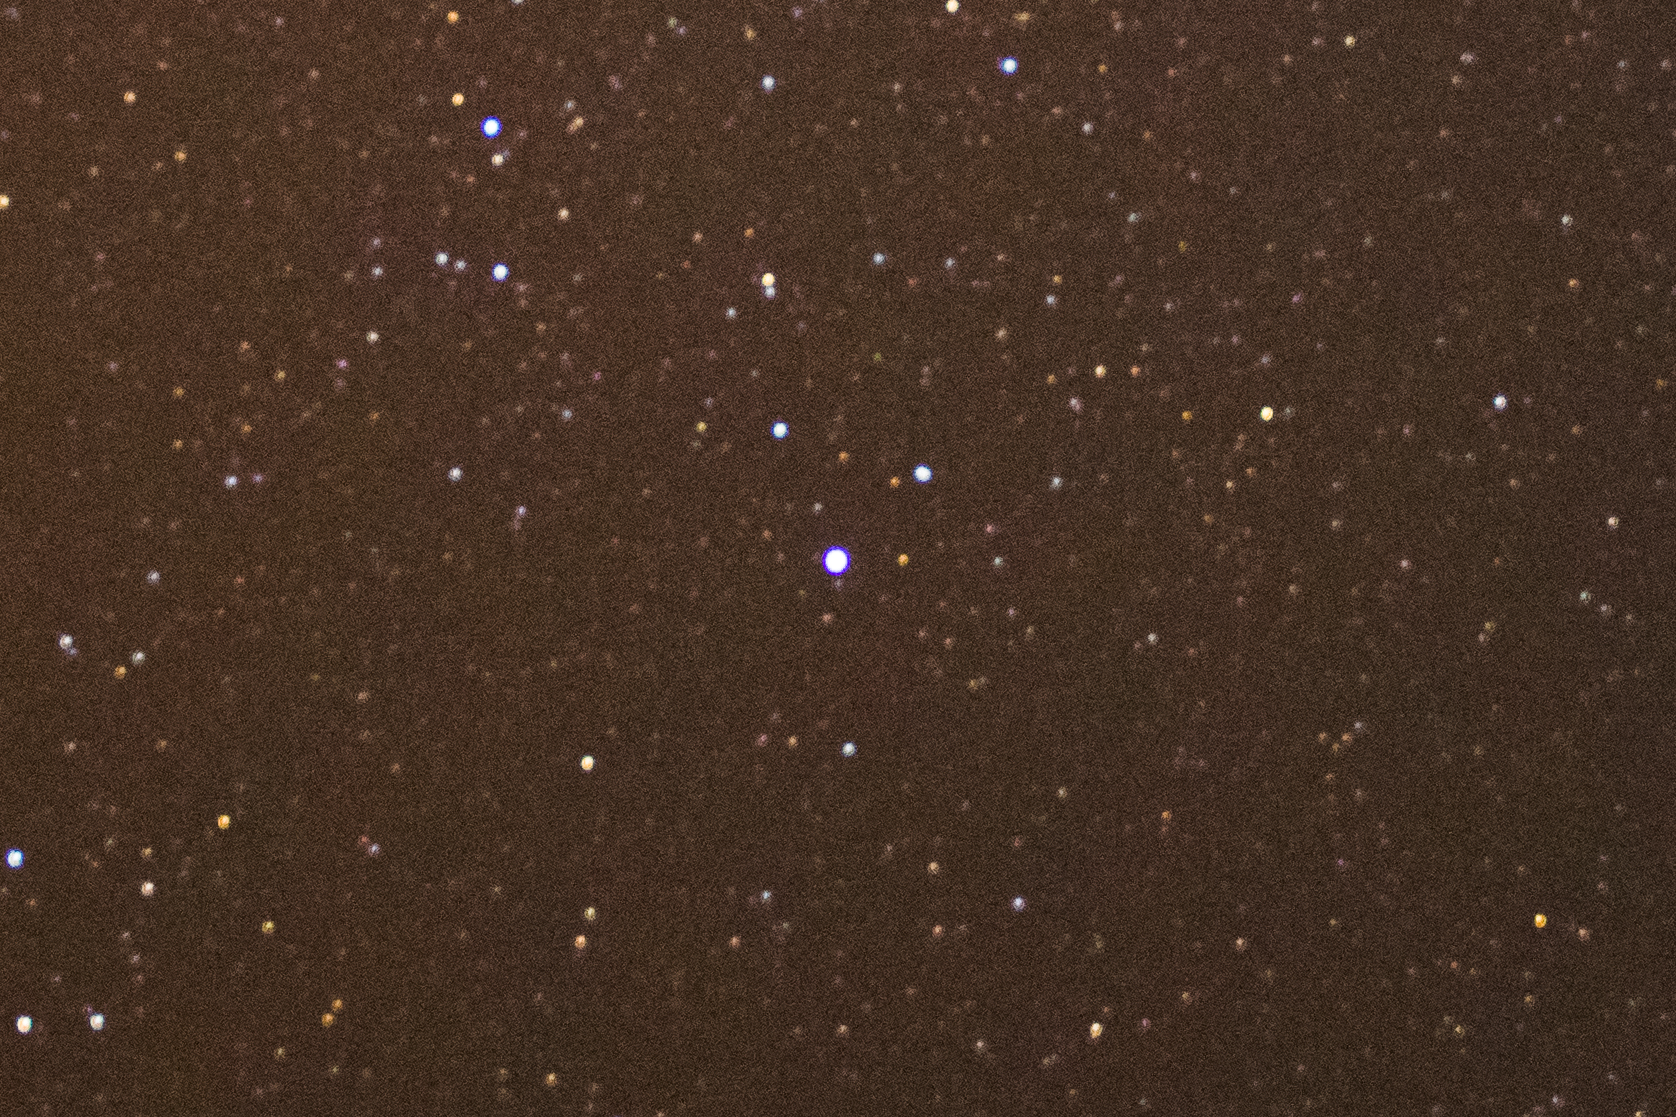
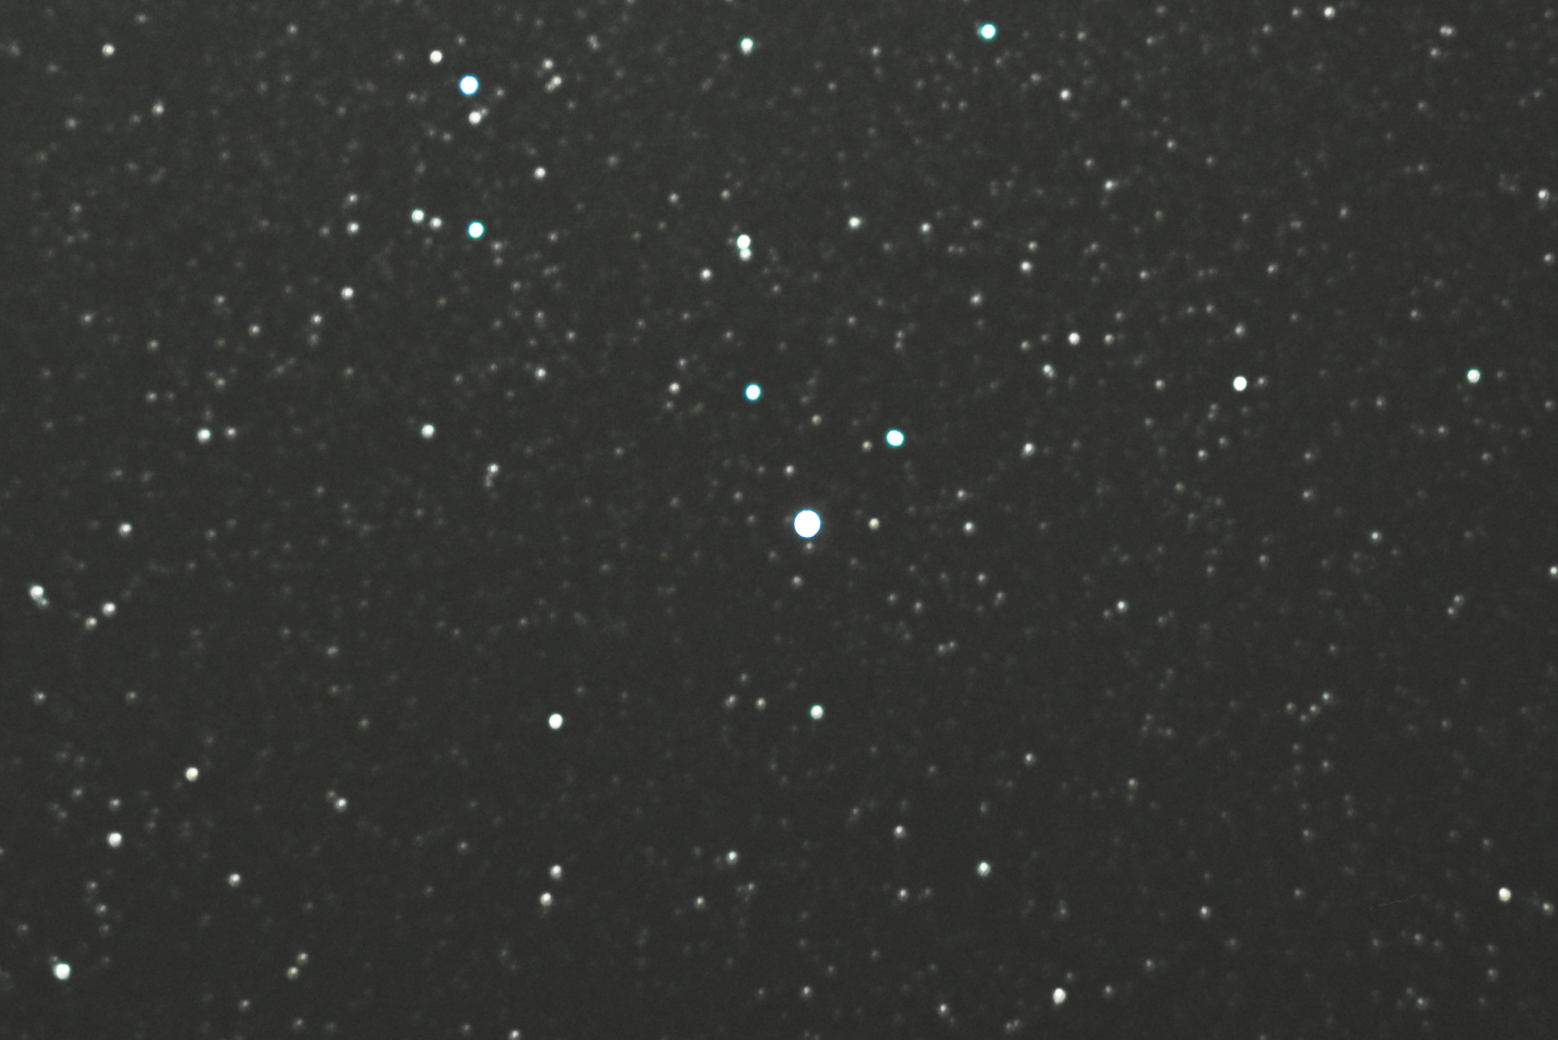
To get an idea of how effective the software was at removing noise, I cropped a before picture to compare with the averaged picture. The first picture below shows the image as it came from the camera with LENR. The second picture shows the same area of the resulting picture after averaging multiple photos. As you can see, the background noise is greatly reduced while the stars still shine as brightly. So, by using the camera’s built-in Long Exposure Noise Reduction feature and stacking several photos, you can remove a lot of noise from the sky pictures.
Deep Sky Stacker automates all of this, but you can also do this in Photoshop, but it is a lot more work. I am working on learning how to do this, but very much a novice. You must first import the photos as layers, then run an alignment process. The alignment doesn’t really work out that well, so you have to manually tweak each layers alignment. Once this is done you can blend the images and work on the landscape. You can then flatten this and process it further in Lightroom. I am still very much a novice at this technique and will write more about it in a future blog.
Andromeda
I also took a picture of the Andromeda galaxy with my 35mm lens at f/1.8. This is a crop of an image created by averaging 10 images. There was so much ambient light in the sky, it was really hard to get this to show up well. I have had better luck in the past.
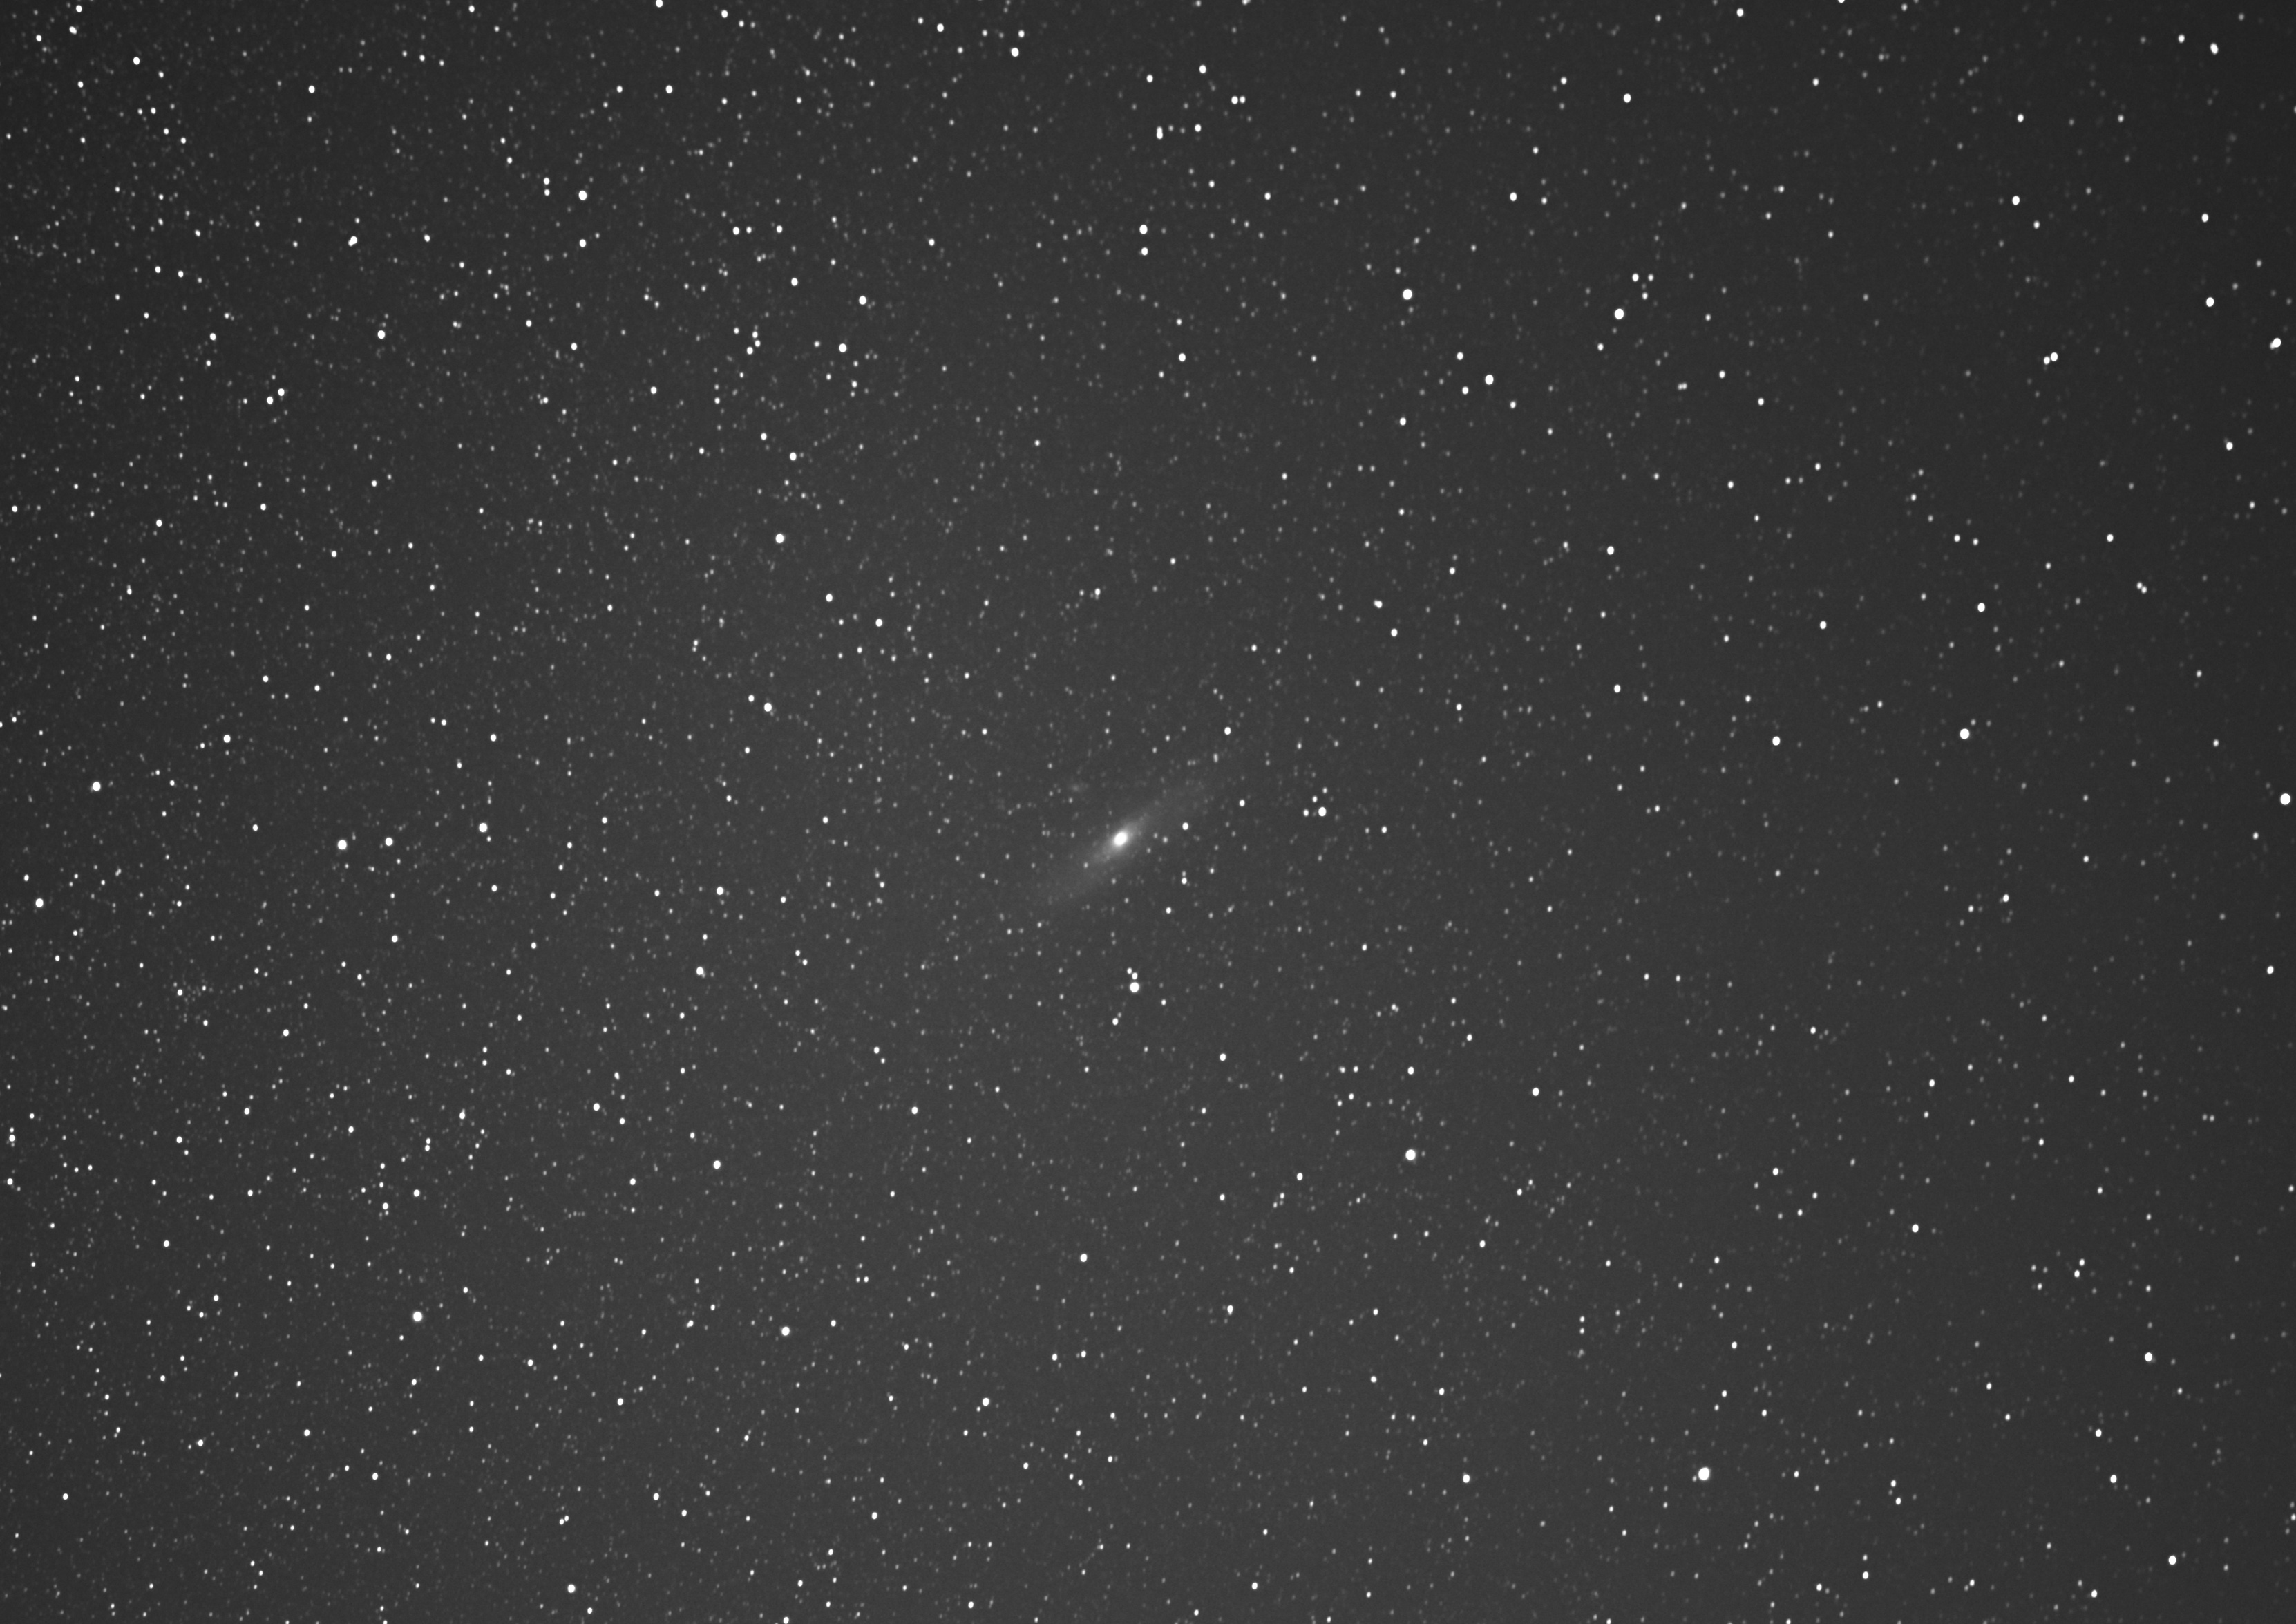
Here is one I took 2 years ago without any stacking. This picture was take out West of Austin at Canyon of the Eagles park on a dark night using the same lens. So, much better dark sky conditions than with the picture above taken in town.

Hopefully, in the near future I can plan a trip out to a dark area on a moonless night and get some better pictures to try this technique on.
Another thing I have done is time-lapsed video made from several night sky pictures. I will write about this in a future blog.

Thanks for sharing this! I saved it to my Pinterest photography tips board for my husband. He loves night sky pictures.
LikeLike
I have been working on it. Difficult to find the time and location.
LikeLiked by 1 person