
I had my second installment of a portrait class that I am taking with my daughter. This class was focused on flashes. I don’t own an external flash for my camera so I had to use the equipment provided by the instructor.
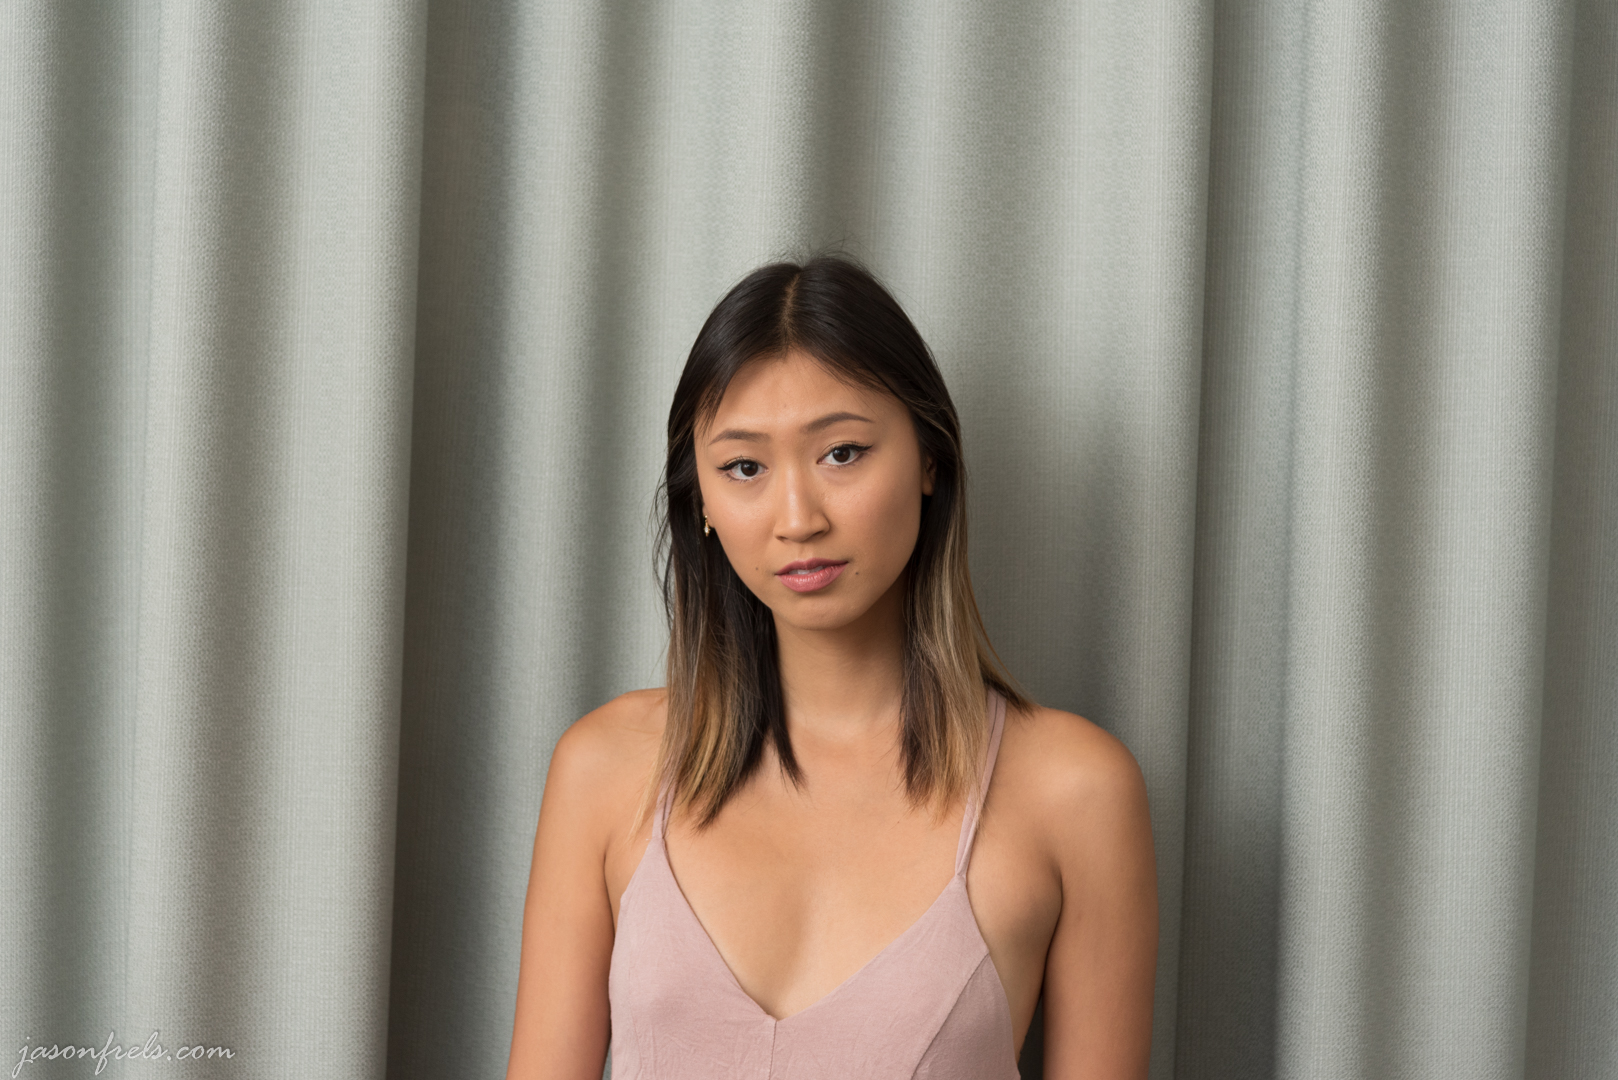
The first thing to try was direct flash with the flash mounted on the shoe on top of the camera. The flash would work with the camera to produce the correct exposure. This is called TTL or Through The Lens flash. In the picture below, the model is standing in front of a curtain with direct flash on her and on the curtain.

While the exposure is correct, the lighting is harsh. It is so harsh that you can see it shining on her cheek and skin and there is little depth apparent in the curtains behind her. This make her and the scene look very flat and kind of deer-in-the-headlights in my opinion.
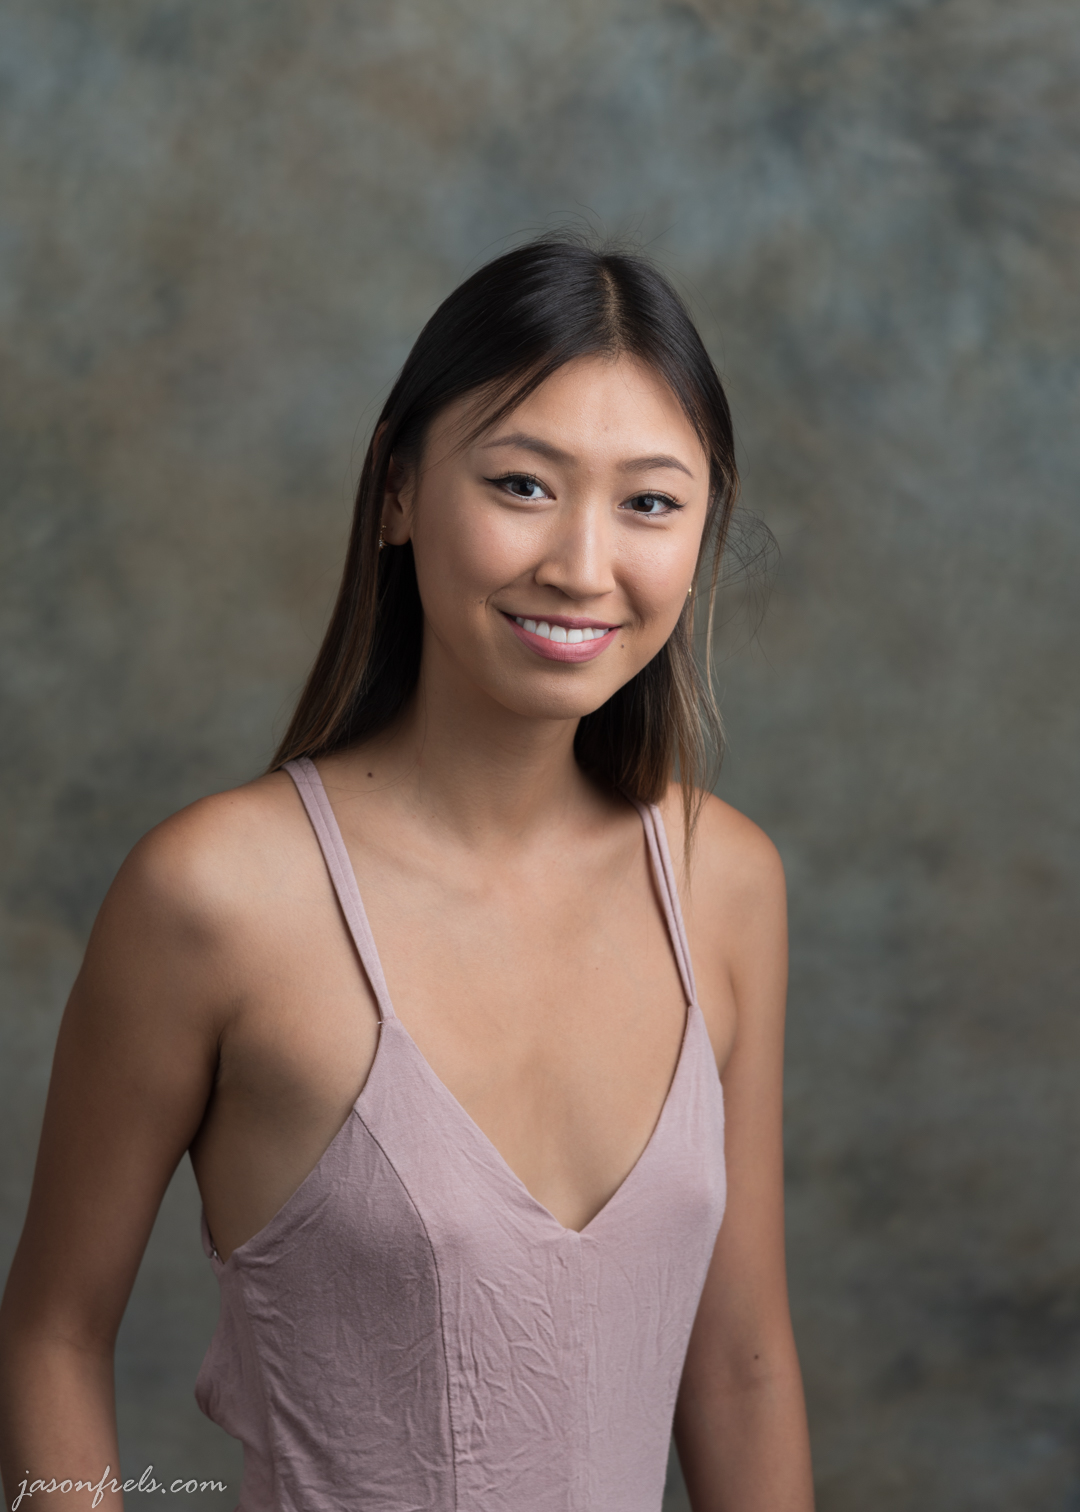
The next thing we tried was a “bounce flash”. This mean to turn the flash around and up and bounce the light off of the ceiling and walls behind you. This has the affect of making the light source farther away and softening the light quite a bit. It also allows you to give some direction to the light by choosing where to bounce it. In the image below, the flash is directed behind me and too the left, so it appear on the model’s right side with shadows on her left.
Just that simple adjustment made a huge improvement to the photo. There is depth and contrast and the model doesn’t look like she is being attacked by paparazzi with bright flashes. The same curtains behind her actually appear to have depth
Then it was time to start talking about off-camera lighting. The first off-camera lighting we shot with is a remote controlled flash on a stand to the model’s left. The flash has an 8 feet white umbrella mounted in front to make it appear to be a much larger light source. There is also a white reflector to the model’s right.
With this lighting, the model is well lit from one side, with shadows adding depth. But the shadows may be a bit too deep and aren’t being filled in well enough by the reflector. So, a large light is added right behind the photographer to help fill in shadows. This fill light is 1/2 to 1/3 as powerful as the side light so that there is still some shadow for detail. The lighting power of the flashes is measured using a light meter and adjusted until it is at the correct settings for the camera (f/5, 1/125s, ISO100). The photo below shows the model with the side flash through the umbrella and a front light at lower power through another umbrella.
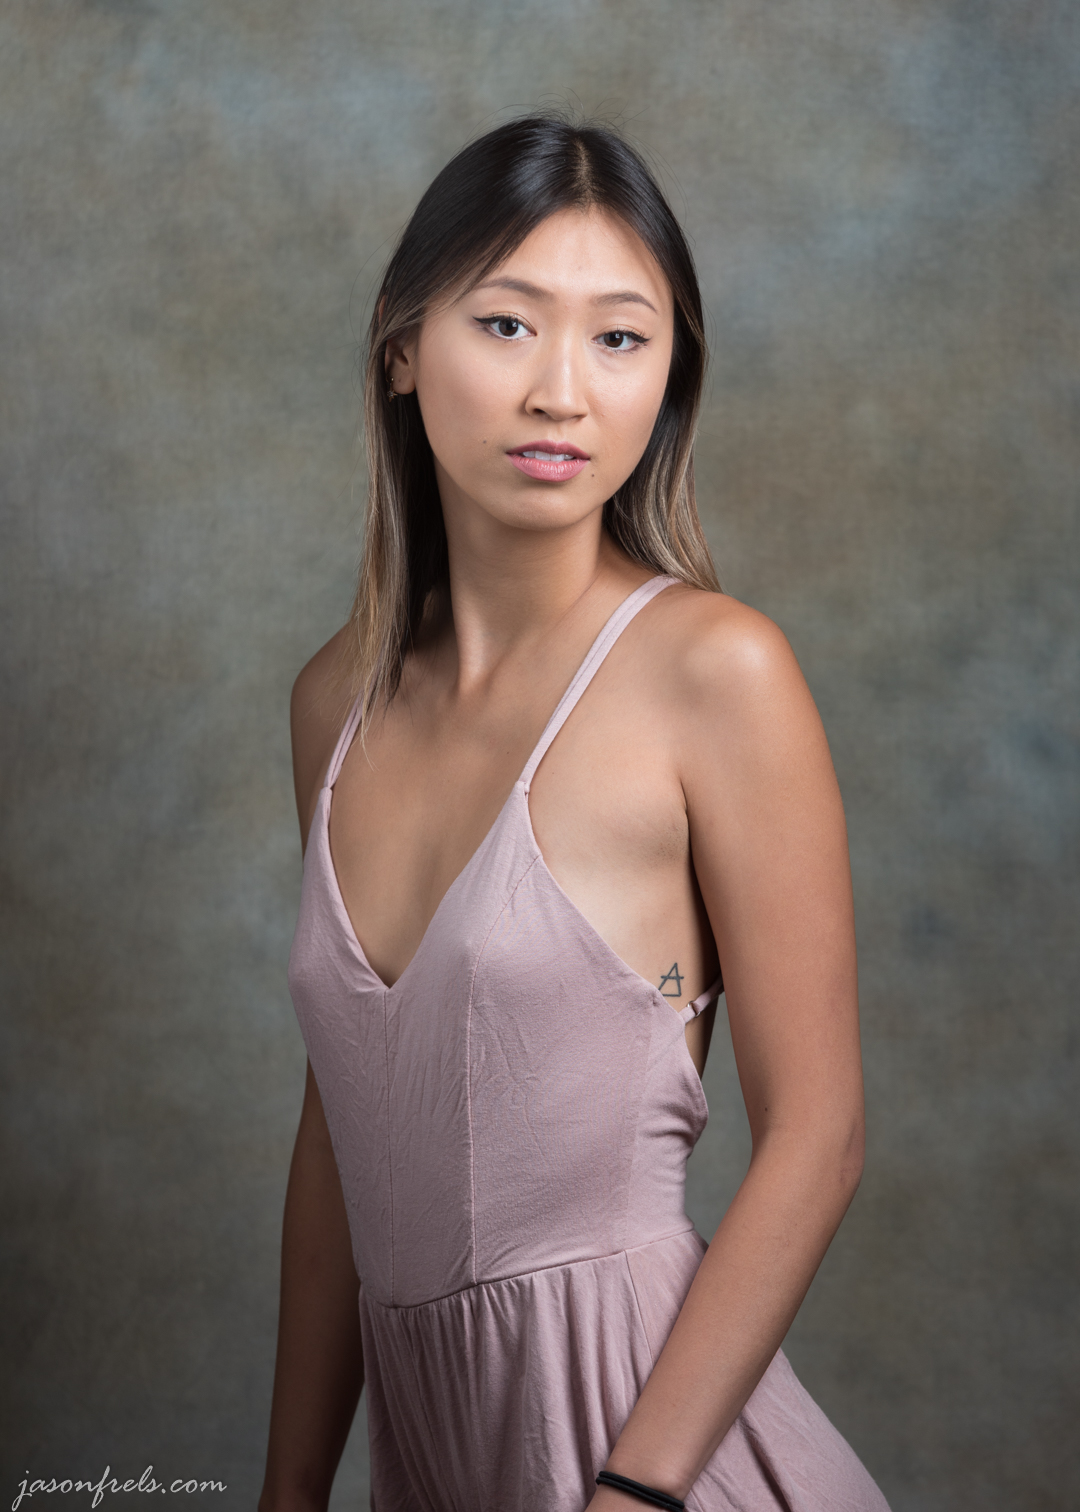
With these two light sources, the shadows are partially filled so that the model has depth without looking sinister from the deep shadows on one side.
Lastly, an additional light that had never occurred to me was added – a hair light. An additional flash is mounted high on a light stand with a directional diffuser. It is directed to shine down on the model’s hair to add a highlight. The hair light is very subtle, but I think with a professional portrait, you want the subtle details so that you can elevate the photo beyond a typical portrait. In the photo below, the model is illuminated by three flashes: the main flash from her left, a front fill-flash, and a hair flash from above.

All of the last three photos were processed identically in LightRoom by making adjustments on the first and copying them to the other two. So, all you should see are differences from the lighting. I may have changed focal length a bit on the last one without thinking, but the exposure was the same.
Also, the model signed a release for all of the photos in this workshop, so I am free to publish them if I want. Anyway, I am sure that she has much better portraits of herself in her portfolio than the ones that I took.
The flash lighting class was a lot of information to absorb in a few hours. I did pick up the basics of using flashes, but unfortunately I don’t have the equipment to practice this on my own. I can’t really see buying multiple light stands, remote flashes, umbrellas, diffusers, reflectors, and a light meter unless I was going to do some serious portrait photography. Perhaps my daughter will sometime in the future.
Hope you enjoyed reading. Leave a comment if you like.

There’s a heck of a lot to photography. It’s not as simple as just pointing and shooting. Lighting is always important, but from this post, it seems as if it takes on extra importance when it comes to portrait photography. Probably best to leave it to the professionals.
LikeLiked by 1 person
That is my take away so far as well. I can’t see myself buying all of this equipment and spending all of that time taking portraits. I am hoping that my daughter will take a lot out of this class. I also find it very interesting as someone who is in to photography.
LikeLiked by 1 person
Interesting demo of the various flash options, thanks. ( And it also explains why I can never get flash shots to work properly 🙂 )
LikeLiked by 1 person
[…] Portrait Class Part 2 […]
LikeLike