
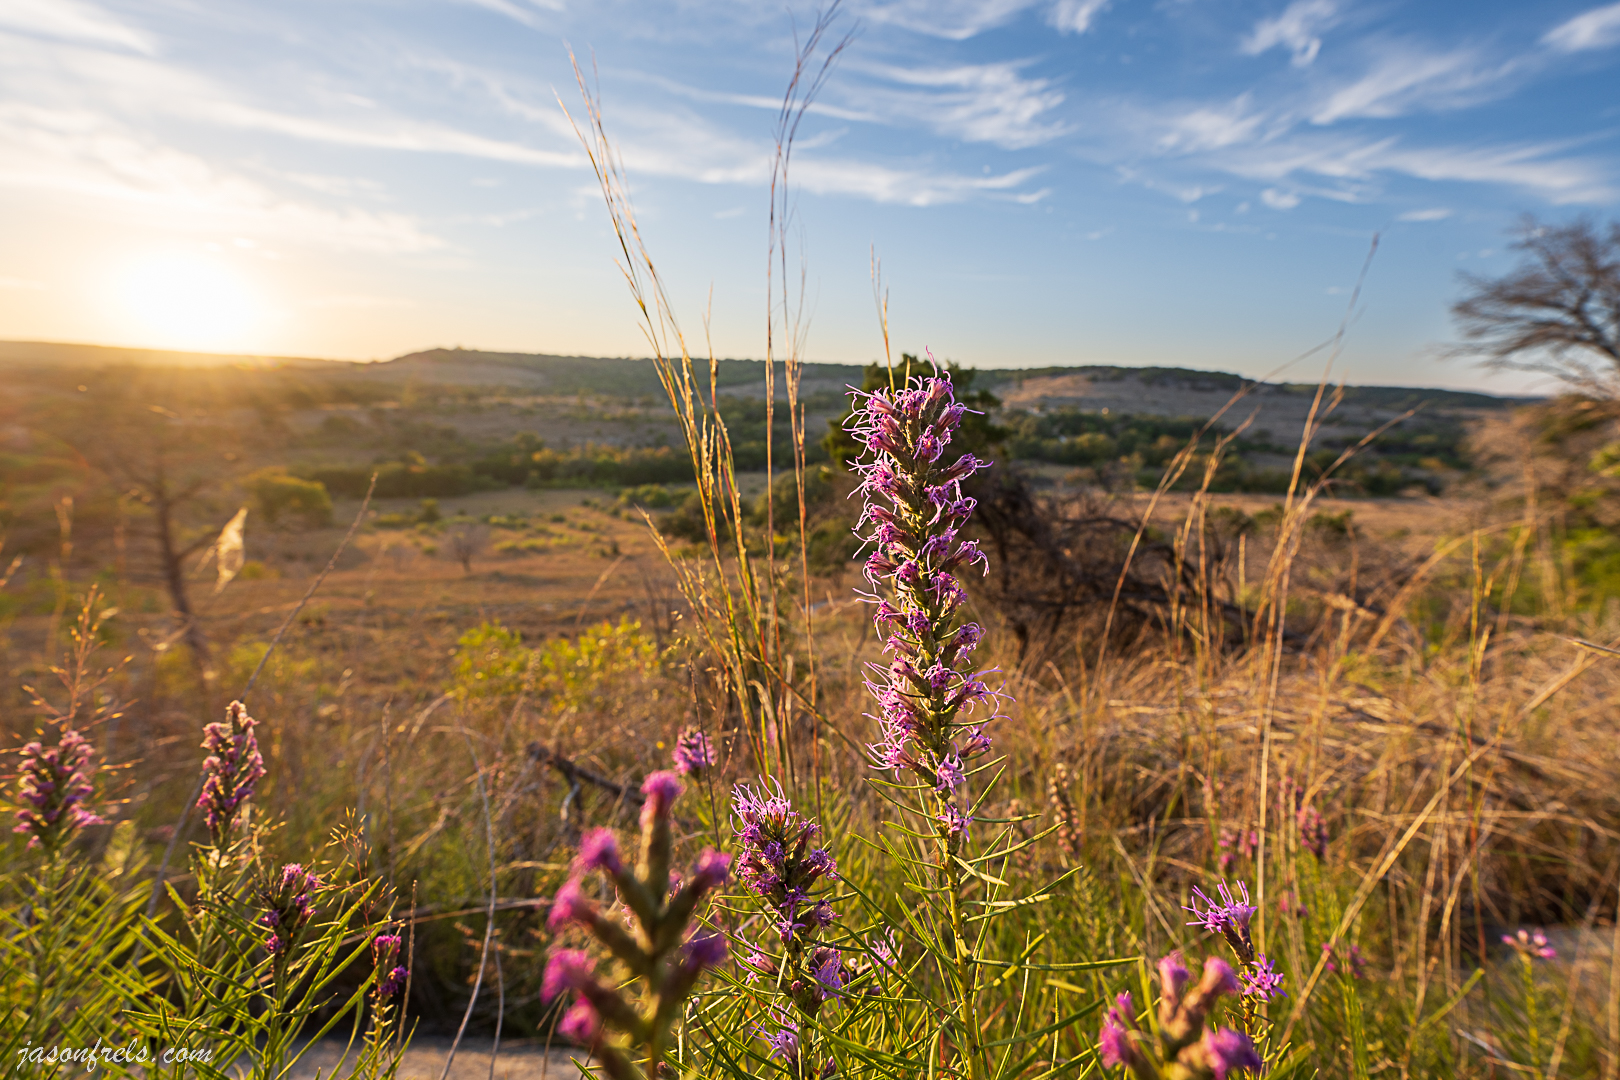
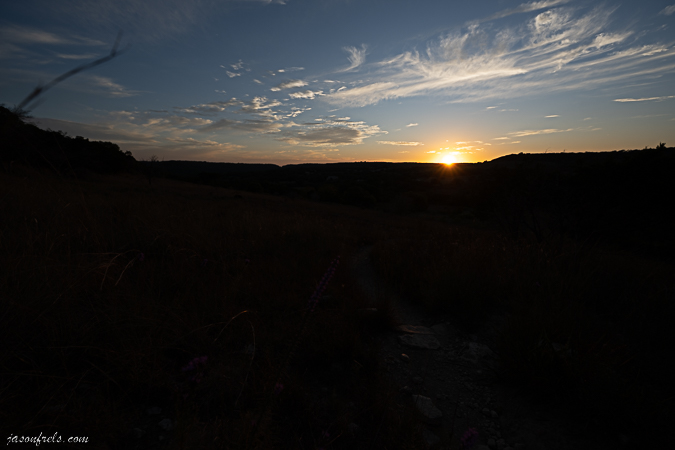
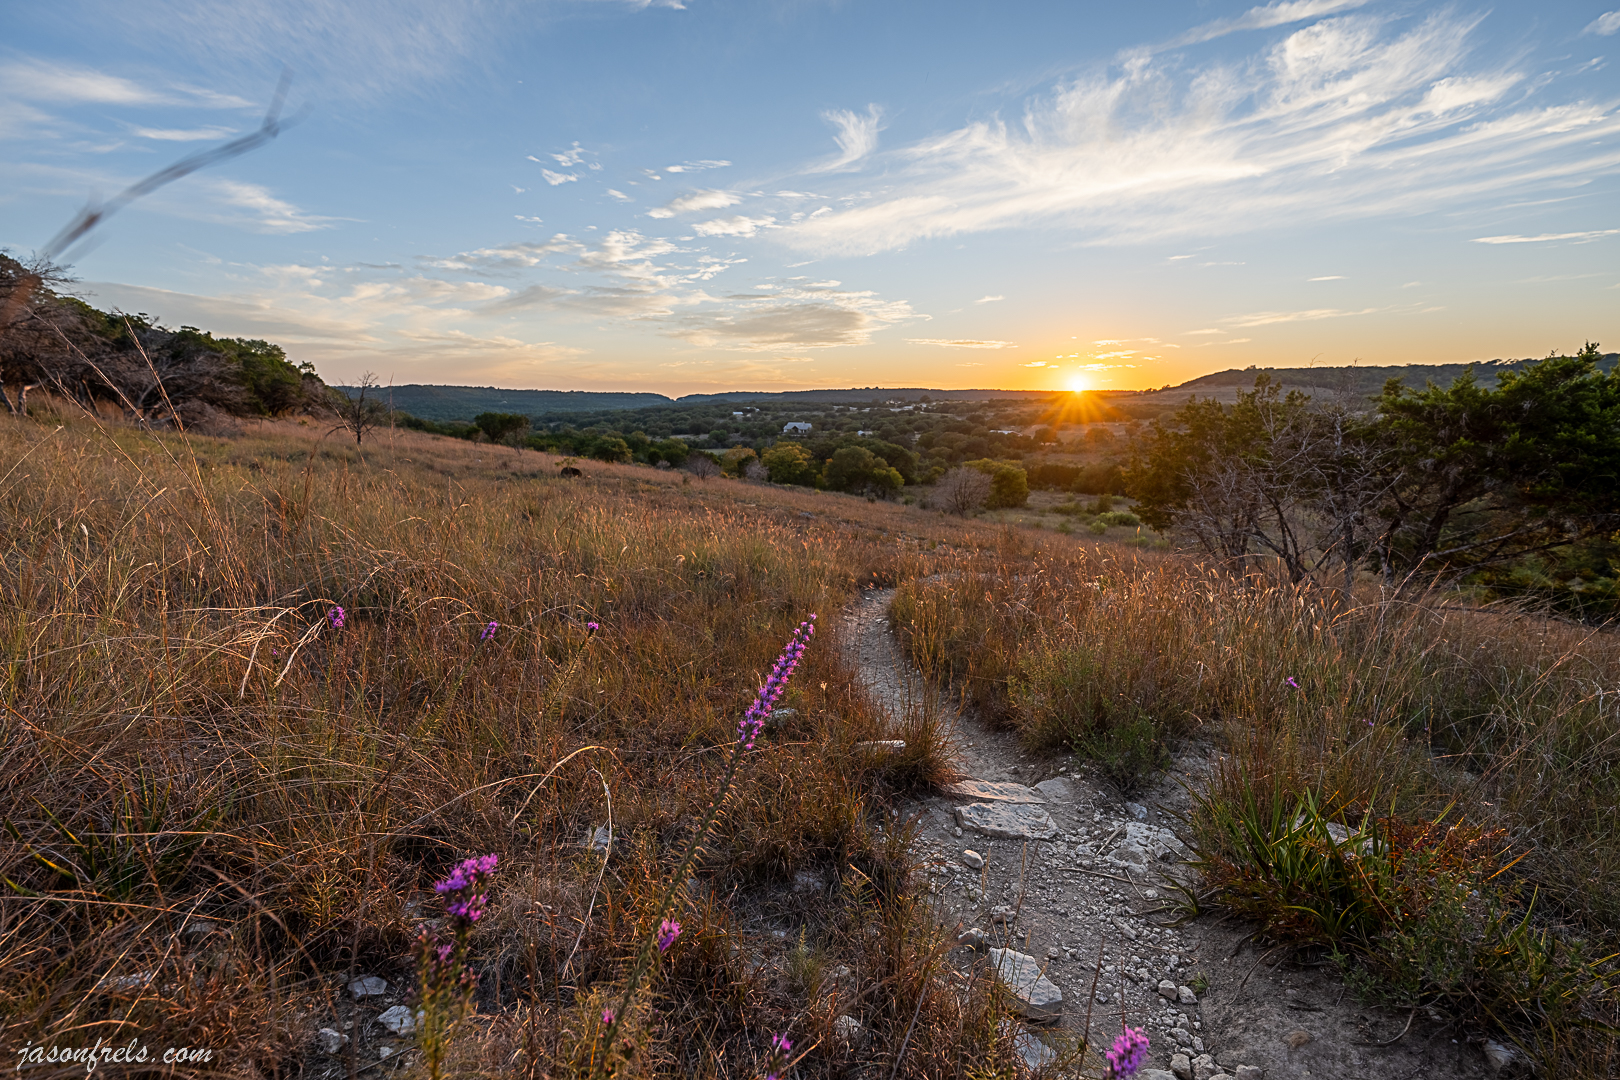
Sometimes I shoot directly into the sun for an image. This makes it very difficult to get an image that exposes the sun, sky, and landscape without clipping highlights and shadows. It is also very hard to avoid lens flare, but the best answer to that is a high-quality lens. In the image below, I exposed for the landscape and you can see the area around the sun is completely over exposed and basically white. I tinged it yellow with the white balance in editing, but there is not any real color information in that part of the image.
One way to get all of the bright and dark color information and capture the scene as your eyes see it is to take several images of different exposures and combine them all together to get a picture with the full range of light. This is generally referred to as exposure bracketing and most cameras can be set up to automatically do this. I think this is pretty much what a modern phone camera does automatically when you take a constrasty photo, but it has to account for the motion and shake while you hand-hold it. In this blog I am going to go through the bracketing process and some other image edits I did to create a final image and you can tell me if it was worth the trouble.
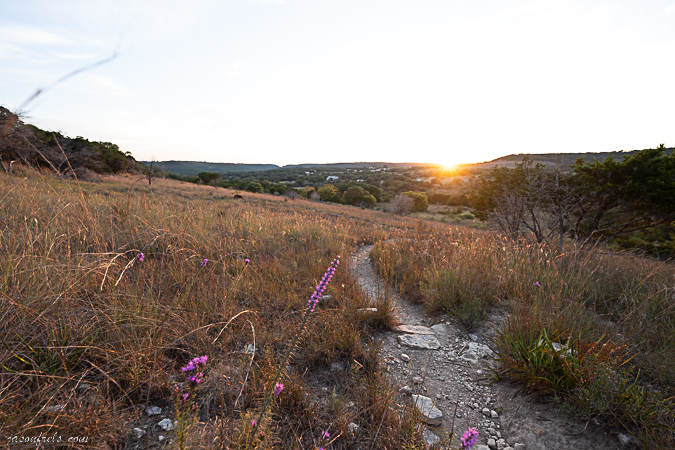
First, I found a scene that I liked with some pink flowers along the hiking trail facing the setting sun. I set up really wide at 14mm and with the camera on a tripod got close in to a flower that I think contrasts well with the golden grass with the stone covered trail curving off in the distance. I put the camera in bracketing mode, programming it to cycle through 7 exposures, 1 stop apart, centered around the mid exposure point. I usually do 5 exposures, but with the sun being so bright compared to the landscape I went with 7. Next I put the camera in high-speed continuous shooting mode. With this configuration, I can set focus and just hold the shutter button down while it quickly takes 7 bracketed shots. My seven unedited brackets are in the gallery below.
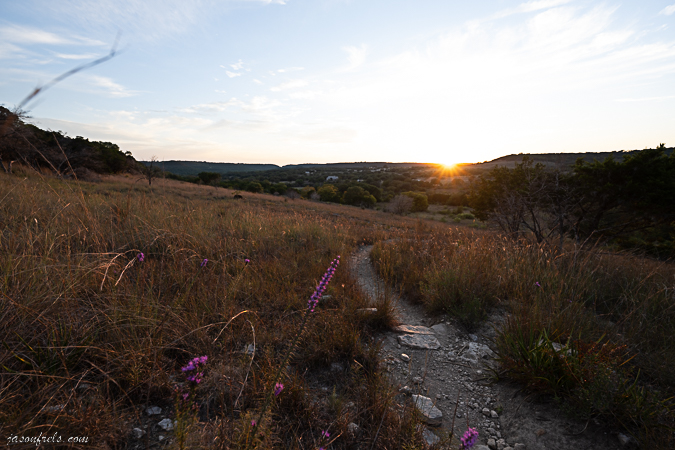
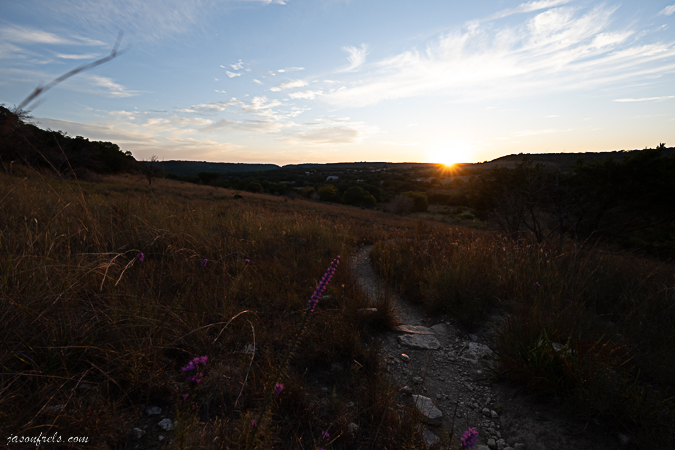
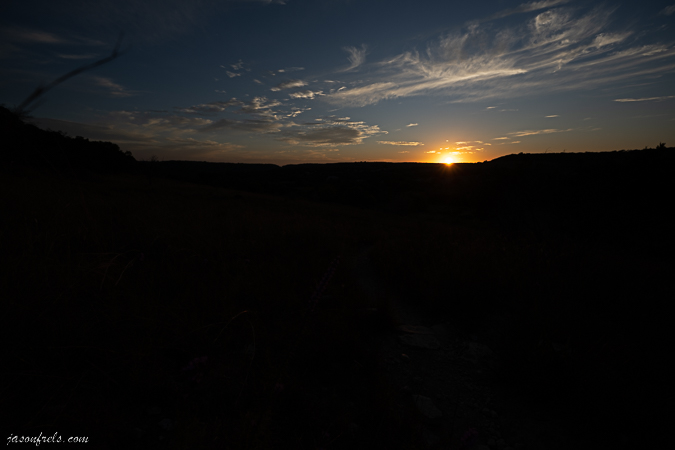
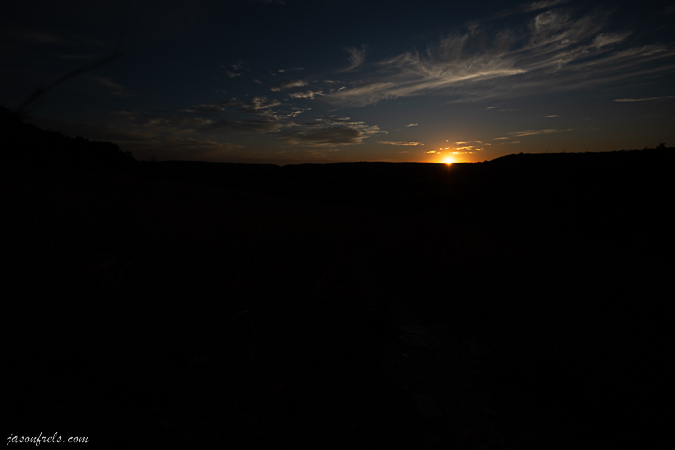
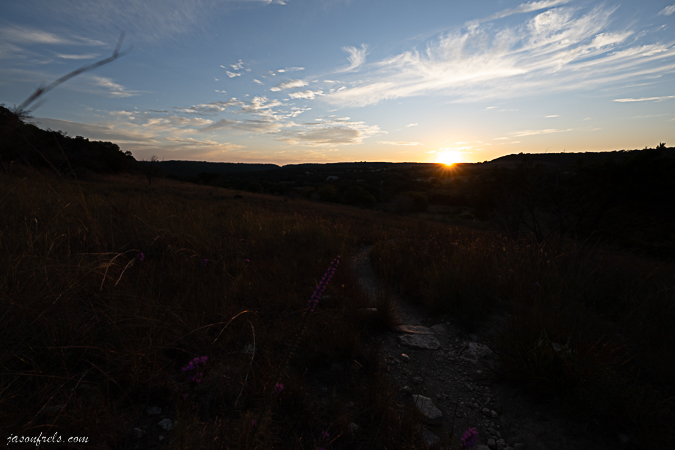
As you can see above, when you get good exposure and color in the sun the landscape is black, and when you get good exposure on the landscape the sky is mostly over-exposed. You could just try to bring up the shadows in one of the darker images, but there would be a lot of noise in that part of the image and it would be difficult to get a good edit.
When I get back to my computer, I simply combine the seven photos in Lightroom as an HDR merge. This takes about a minute and then I may play with the ghosting for things that were blowing in the breeze. It then produces a result that is usually a little bit extreme to me in terms of saturation and contrast, but all of the best data is there from the various exposures. Below is the image right out of the HDR merge tool.
To me the above photo is a bit too flat with the shadows boosted too high and it is also a bit saturated, especially around the sun. There is an annoying blade of grass that worked its way into the left side of the frame that I didn’t notice when I was shooting, and I am not sure I like the pink flower at the very bottom overlapping the trail.
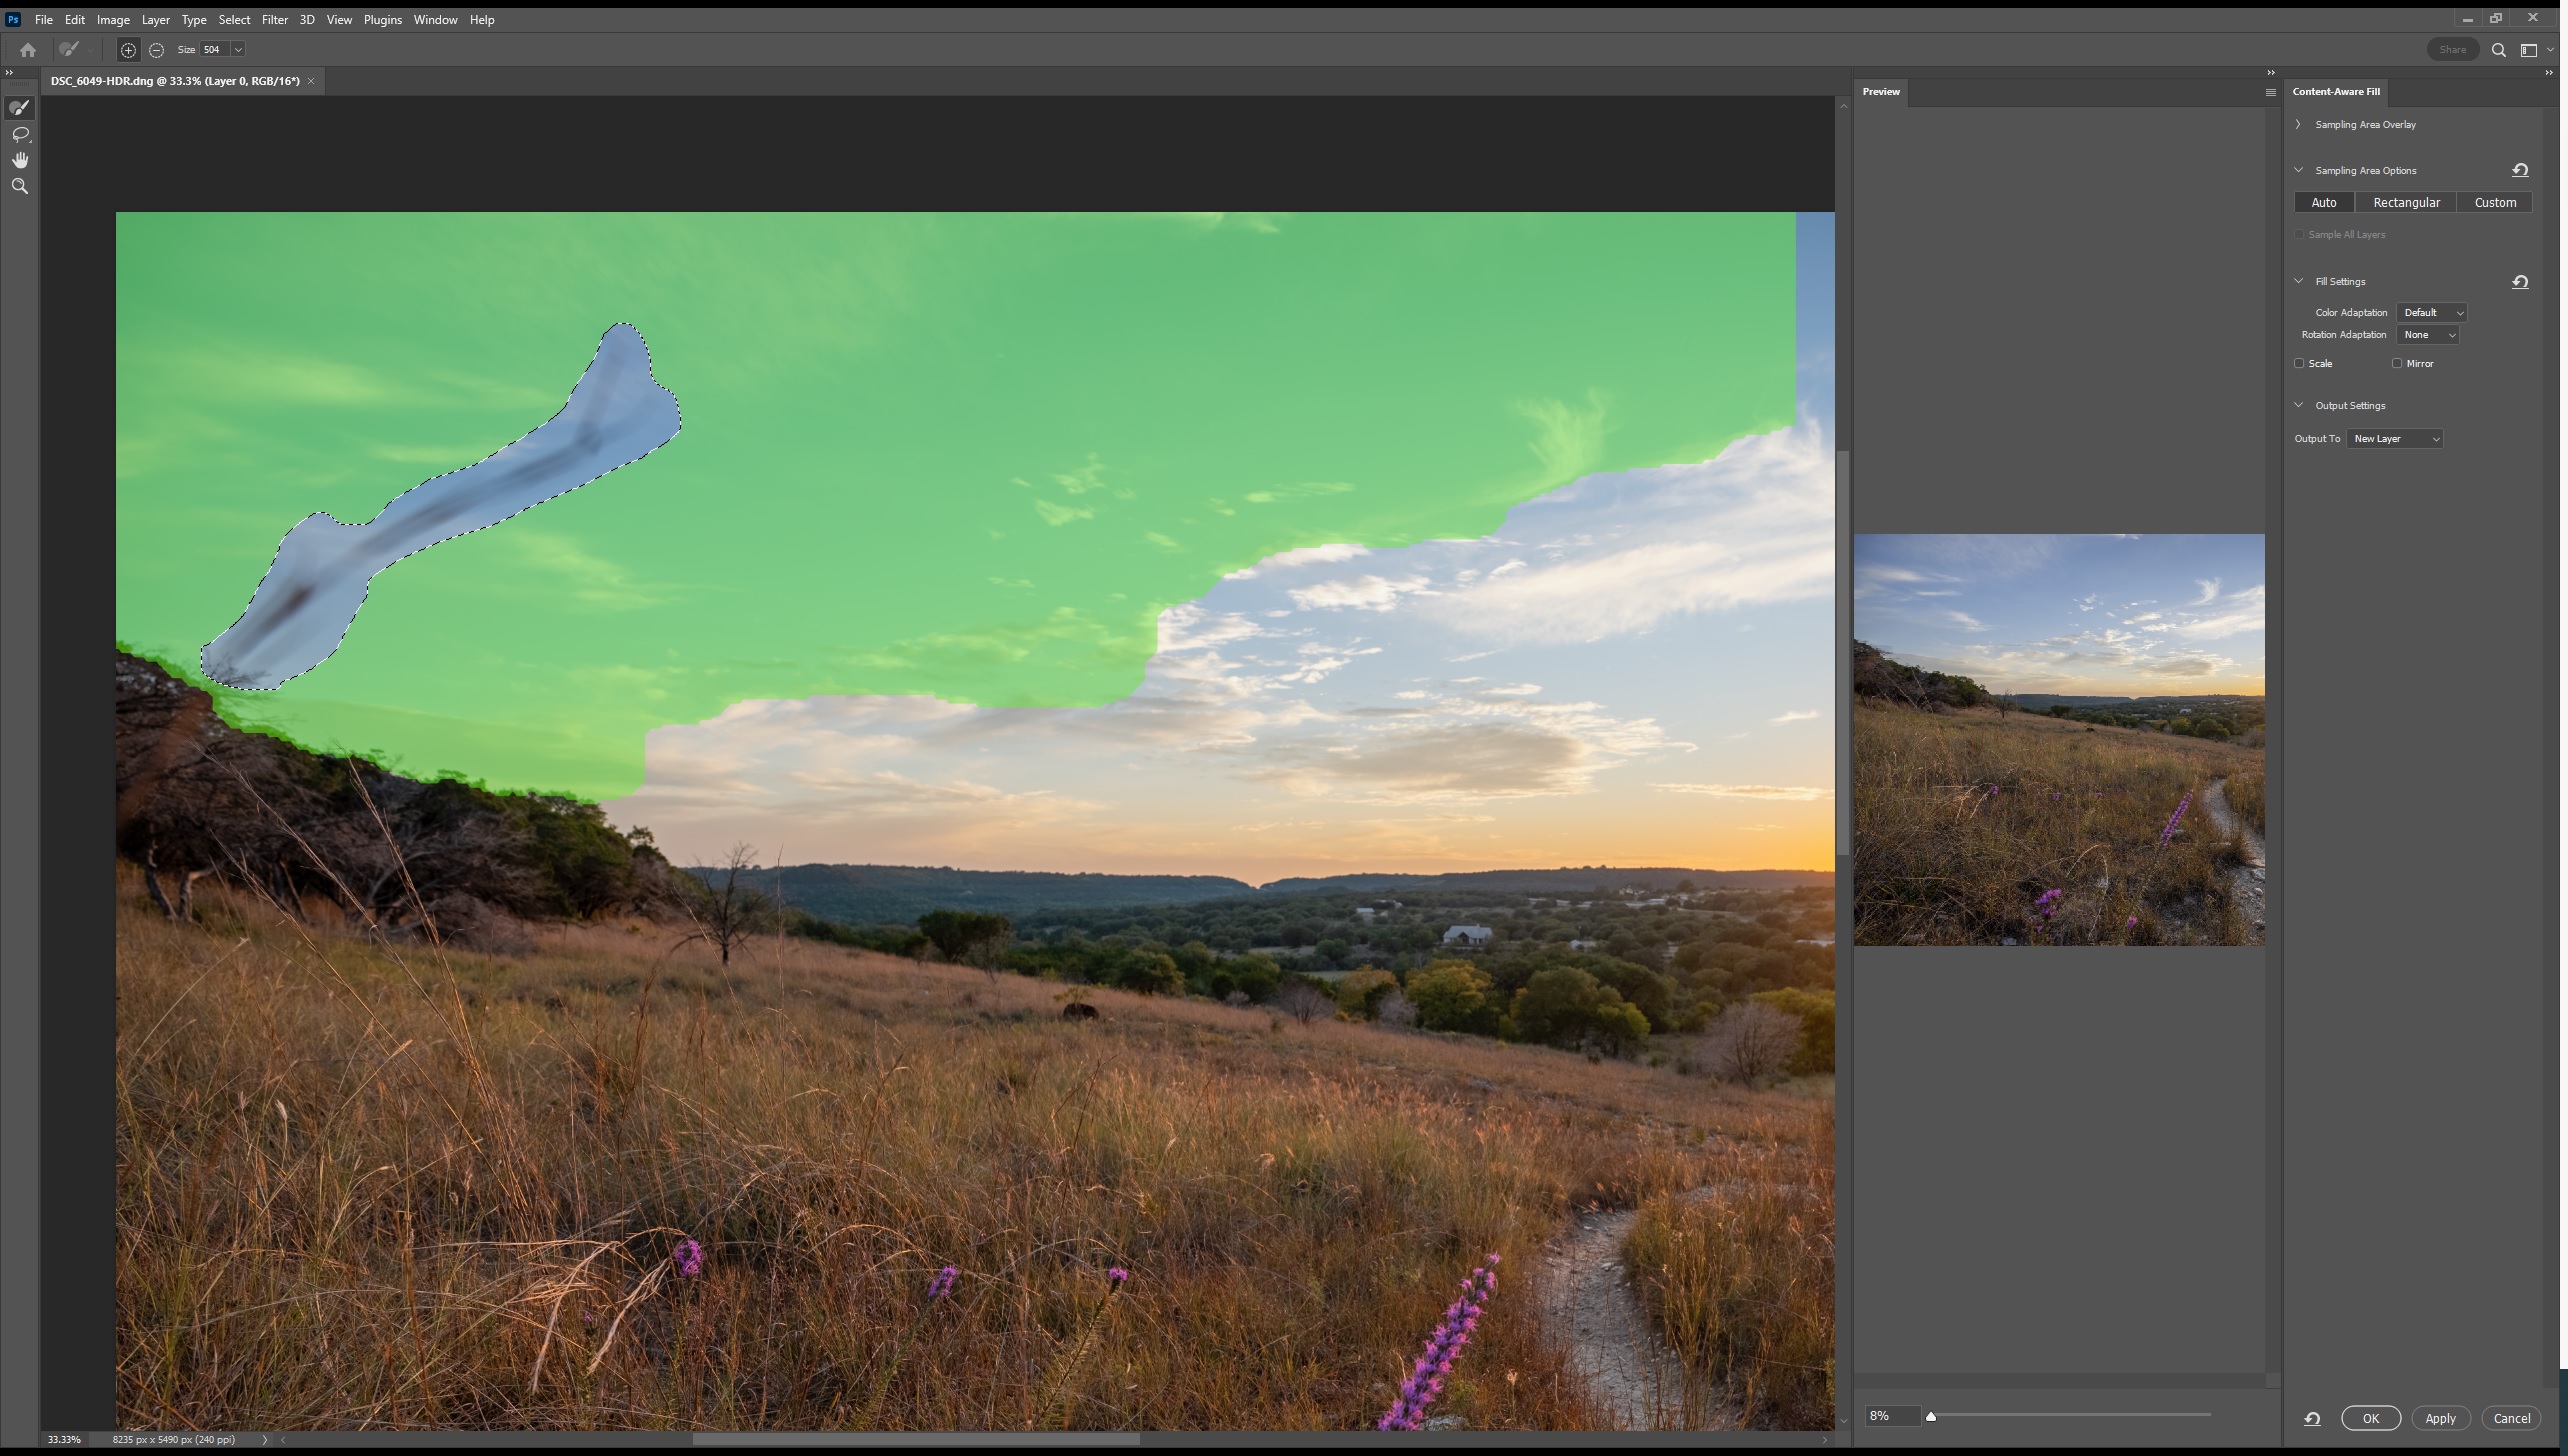
It is easy to make the annoying blade of grass disappear in Photoshop as it is so different from the sky. So, from Lightroom I can open the image in Photoshop. I then used the lasso tool to select the area directly around the blurry blade of grass and select content aware fill. You can then choose what parts of the image it uses to generate the fill content (the green areas in the image below). This takes a couple of minutes and the result is generally good on the first try. I then save the image and it shows up back in Lightroom as a new edit.
Now with that done and back in Lightroom, I began adjusting the image.
- First, I selected the sky with a mask and subtracted the part with the sun. I then deepened the sky and added contrast for the clouds.
- I then put a circular gradient filter around the sun and area round it and basically blurred it and hazed it so it would look softer in the background.
- The I selected the diagonal section of the landscape with a mask and I really boosted the contrast between the grass tips lit by the sunlight and the darker areas. I wanted the golden grass in the sunlight to really pop and the contrast also gives it some depth I think.
- And lastly I selected the colors in the flower with another mask and then boosted the luminance and saturation of those colors to help the flowers stand out.
After than I decided to crop it to remove that bit of flower overlapping the hiking trail. I dropped the global color saturation a little and I was about done. Below is my final edit.
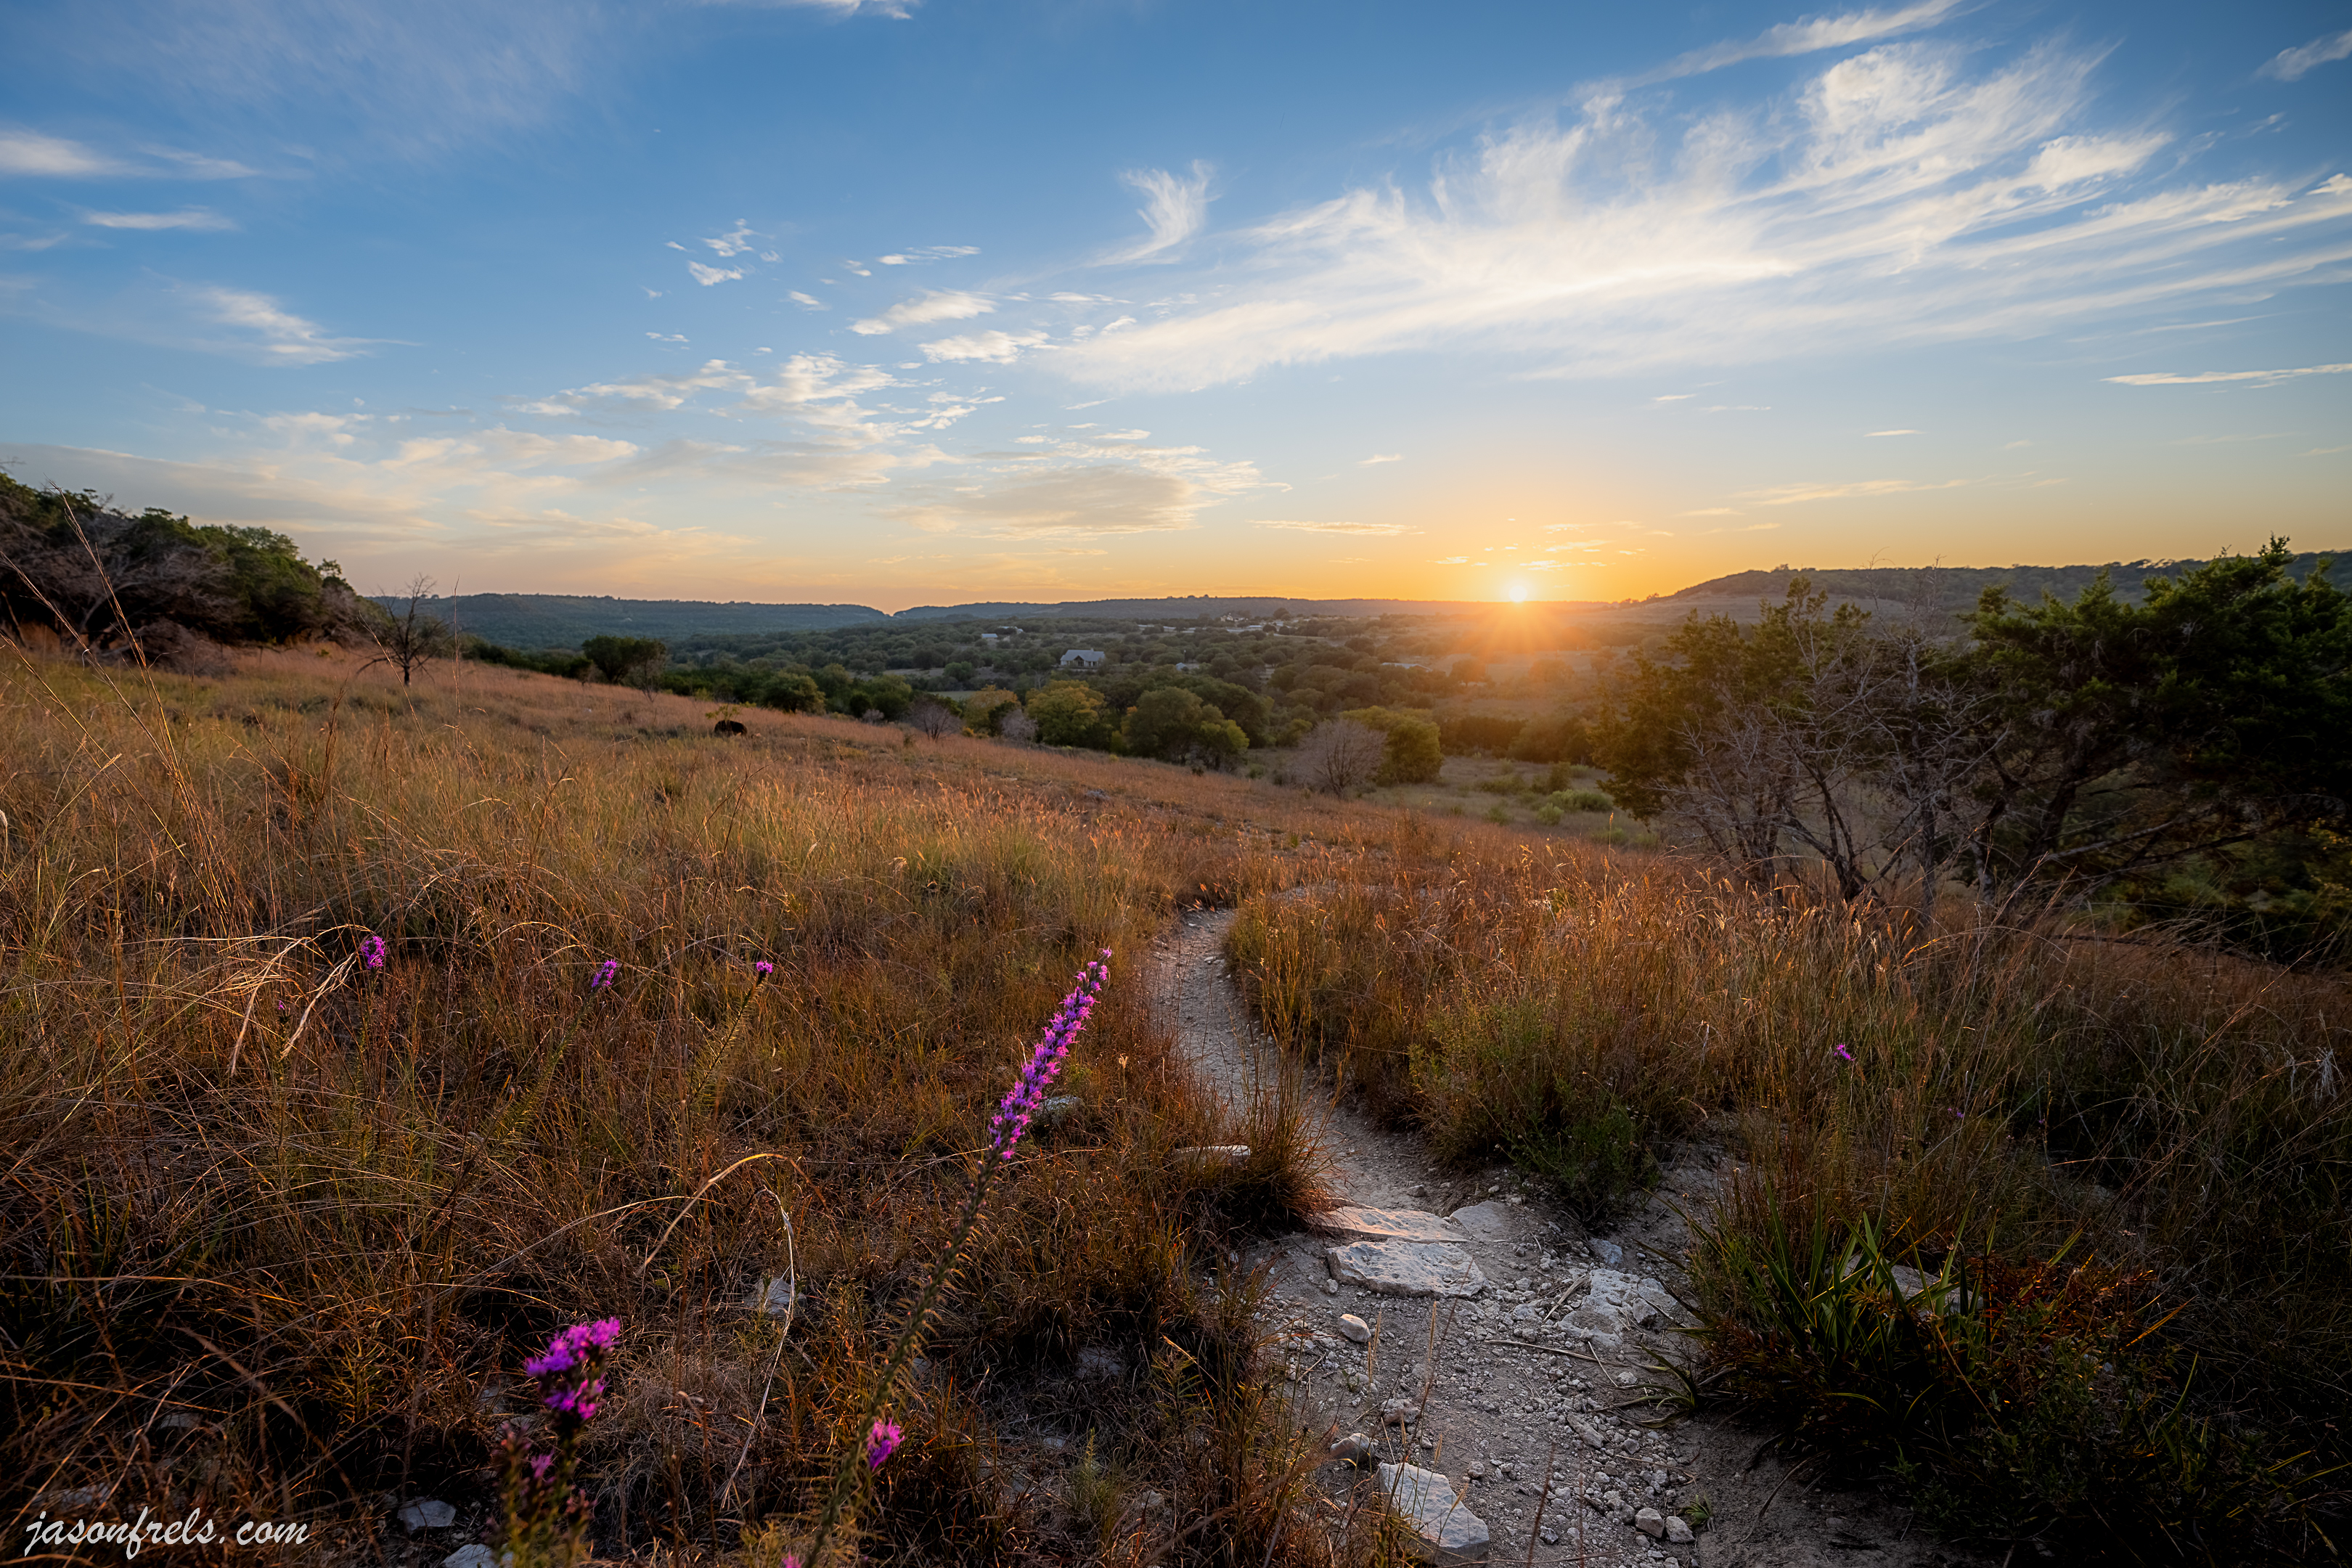
That grass really gets golden in the late afternoon sun and I love portraying that. A hint of the sun star effect is there even though I was shooting wide aperture and I prefer that to the hard sun stars that I have gotten in other images. I think the pink flowers stand out enough to be noticeable.
You may look at the high clouds and think that sunset might be good, but it wasn’t. The sun went down, there was a hint of color, and that was that. But I got a nice image out of the hike anyway. Tell me what you think below.

I like the final result, although the pink flower seems slightly blurred to me, possibly by motion between the 7 frames. But I like how you boosted the contrast by darkening the front edges of the photo. That took some artistic instincts, in my view. Lightroom and Photoshop seem to allow a lot more artistic control of a photo, but I think you have to have the mindset of an artist in order to use them effectively.
LikeLiked by 2 people
It was very hard to focus on that flower while the sun was shining in my face making it hard to see the screen. I think I mostly ended up focused on the path ahead of it. That was my best focused image.
Photoshop is like getting into a car to go somewhere and finding 700 knobs, levers, buttons, and dials (and they only work of you know the keyboard shortcut), but it is a powerful tool.
LikeLiked by 2 people
I can see how the focusing could be a challenge. The rocks on the path seem to be in pretty sharp focus, though.
LikeLike
I would say it was worth the effort. Its quite a process you go through. I liked seeing the 7 frames and the explanation of the process.
You ended up with a lovely photo, especially the vivid pink flowers and the glow of the golden grass.
LikeLike
I’ve never managed the mental fortitude to get very far with Lightroom. I usually stick to an older version of Photo Impact Pro… and mostly just to fix a pathological inability to keep my cameras level. But I’m impressed with your HDR results. My best seem to come from the camera.
Something I’ve always thought would be interesting to try is to combine shots with different polarization.
LikeLiked by 1 person
I know I am supposed to use a polarizer a lot, but I seldom remember to
LikeLiked by 1 person
A high-altitude essential… almost reflexive to turn it like I’m focusing. And atmospheric ice crystals are sometimes only visible through one. My mistake is leaving it on indoors and at night.
LikeLike
I really like the top photo, since my eyes are drawn to the flowers, and I didn’t really notice the sun.
I also liked your final image, and I really enjoyed reading about your thought process and how you went about editing the photo. Could something like that have been done 50 years ago?
LikeLiked by 1 person
I doubt you could do all that in a dark room 50 years ago but I can’t say for sure
LikeLiked by 1 person
as amazing as digital photography is, it makes you wonder if you can trust a photo anymore to represent the truth…
LikeLiked by 1 person
Absolutely not. AI generated photos are the current big thing and they are so good that you can’t tell they’re fake unless you go pixel-by-pixel.
But the fun for me is actually taking the photographs, so the AI can’t take that away from me.
LikeLiked by 1 person
I can see why taking hte photo is the fun part, since you are likely engaged in doing something that you like…
LikeLiked by 1 person